Sunday 22 August 2010

Sample Board


This is the sample board I made to take to Jarrolds on saturday, I would like to say thankyou to Lisa, Amanda and the other ladies at the store for being so welcoming.
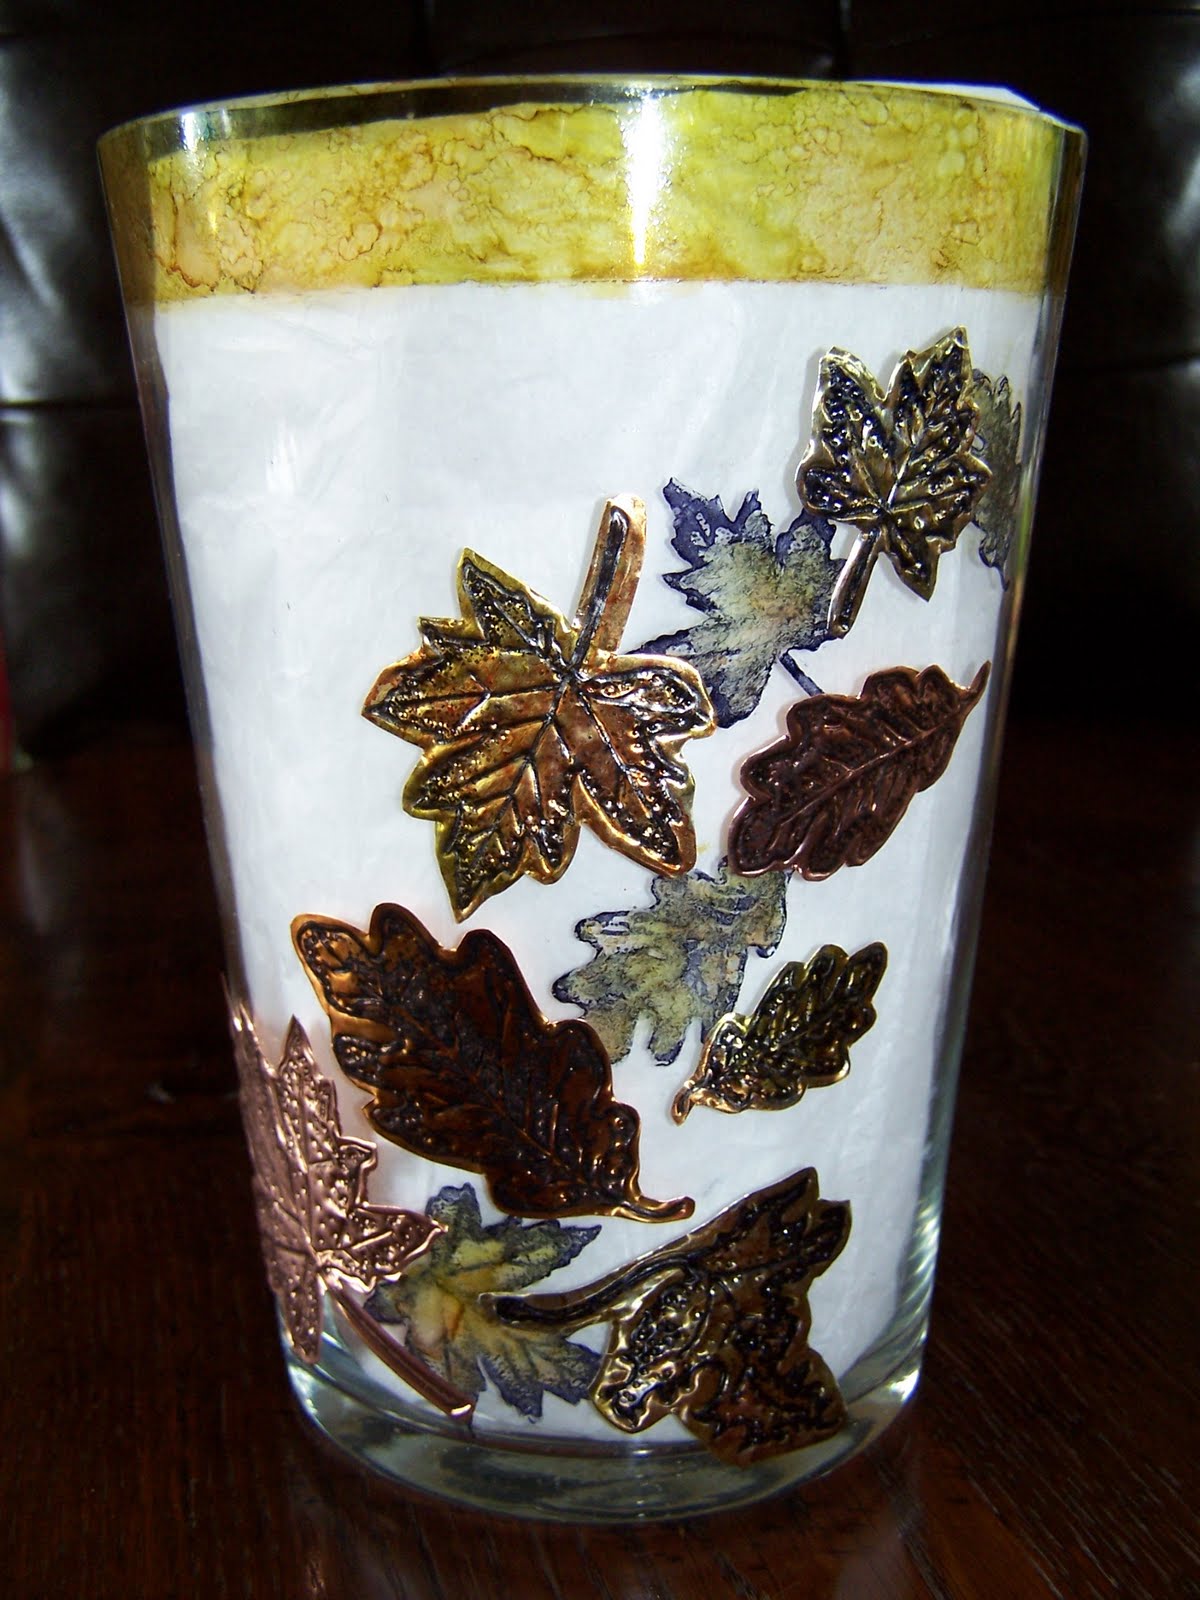
The board shows many of the different coloured metals Walnut Hollow make, as well as several patterns from their 'Design Sheets' (firm plastic moulds to push the metal into) and patterns made using the 'Roller Points' from the beginners kit. I also used Spellbinders Impressabilities and Dies as well as a selection of stamps from Creative Expressions.
In the following few weeks I will post some of the cards made using WH metal and show you how to preserve you hard work from being squashed! The metal is a very tactile medium and everyone was drawn to touch the artwork.
I've enjoyed using the metal and now plan to make my dad's birthday card with it, after all if he doesn't like it at least it has scrap value!!!

Monday 16 August 2010


This is the next project working with Walnut Hollow. It started life as a plain clear glass vase (again found in a charity shop).I've lined the vase with tissue paper so you can see the design more clearly.
I used alcohol inks to colour an inch deep rim around the top, then using the same inks I coloured three sheets of metal. Then I stamped leaves from 'Autumn Foliage' by Creative Expressions in Ranger black Archival Ink on the decorated metal sheets. These were left overnight to dry before working the design from the front. They were cut out, leaving a small border around the outside, using the W.H. metal scissors (don't mess up your other scissors, these are made for metal!)
I also stamped some leaves directly onto the vase, it was tricky stamping on a curve but if you cup the stamp in the palm of your hand it will work just fine. Stamp the same leaves onto a post it type note and cut out the leaf leaving a lovely leaf shape whole as your mask. Then with the alcohol inks colour the stamped leaves through the mask, it will blur the black slightly but I think it lookes OK and by the time the metal leaves are on the vase nobody will be looking at them that closely anyway.
The last step is then to stick the metal leaves onto the vase with W.H. double sided tape (VERY sticky stuff) and there you have it, one autumn vase. This would have to be gently hand washed but it should last quite well and with a few chrysanthemums in it will look great on your table.

Tuesday 10 August 2010

This is the latest project. I've been working with Walnut Hollow Creative Metal. (refered to as W.H. in the rest of the post)
I found this little trinket box in a local charity shop already painted a beautiful metalic blue, it has a small shell stuck very firmly to the lid.
I used a die cut letter to stick to the shell ( it just wouldn't budge so now it's part of the design!) then I used one sheet of gold covered aluminium and worked it gently over the shell. Once I had the shell outline I then worked the swirl pattern using a 'Design Square' from W.H.
A little trimming was necessary to make it fit then it was stuck down with W.H. metal tape.
As the aluminium is coated some gold did rub off leaving it with a worn look, so I added to this by gently rubbing over it with a little brown acrylic paint. It now has an aged look about it which I rather like, plus it makes any small imperfections part of the overall look!
W.H. metal is easy to work with and doesn't have to be just for cards as you can see. I'll post a few other projects over the next few days. If you get the chance give it a try and if you already do parchment craft then you'll be right at home.